
How to Stand Up and Break Down Your Canopy Tent
When it comes to canopy tents, routine set up and tear down are just part of the program. By nature, canopy tents are temporary structures: they are meant to be set up for a few days, torn down and used again for the same purpose. In fact, these tents are often referred to with “instant” or “pop-up” in their names — a nod to their simple and straightforward design. If are the proud owner of an instant canopy, you don’t need to be a rocket scientist to know how to set it up and take it down. That being said, a little help never hurt anyone. In this guide, our trusted tent manufacturers at Extreme Canopy cover the ins and outs of tent set up and tear down. Master each process to make canopy tent usage as easy as possible, and shop the industry’s finest custom canopy tents from our manufacturers today!
X7 TECTONIC 16′ x 16′ & 20′ x 20′ INSTRUCTIONS
Standing Up Your Canopy in 5 Simple Steps!
Canopy tents go by a few different names. Among these are “instant canopies” and “pop-up tents.” Both of these names suggest something that every user will love: fast and easy set up. While it is true that the set-up process for most canopies is quite simple, it isn’t quite instantaneous, and it definitely can be messed up. To help you master set up and stay as true to your product’s “instant canopy” or “pop-up tent” title as possible, we’ll show you how to go through the set-up process in 5 easy steps.
1. Remove Your Canopy From its Carrying Case
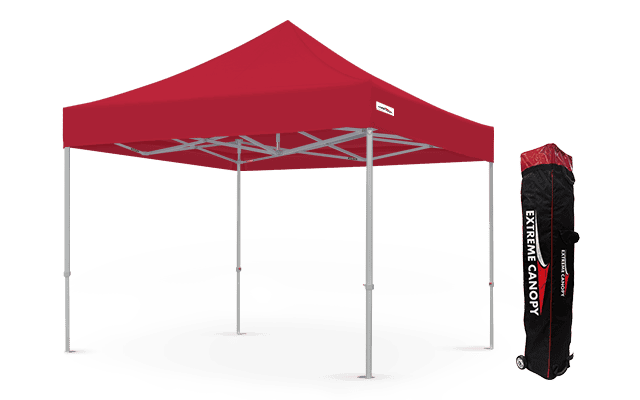
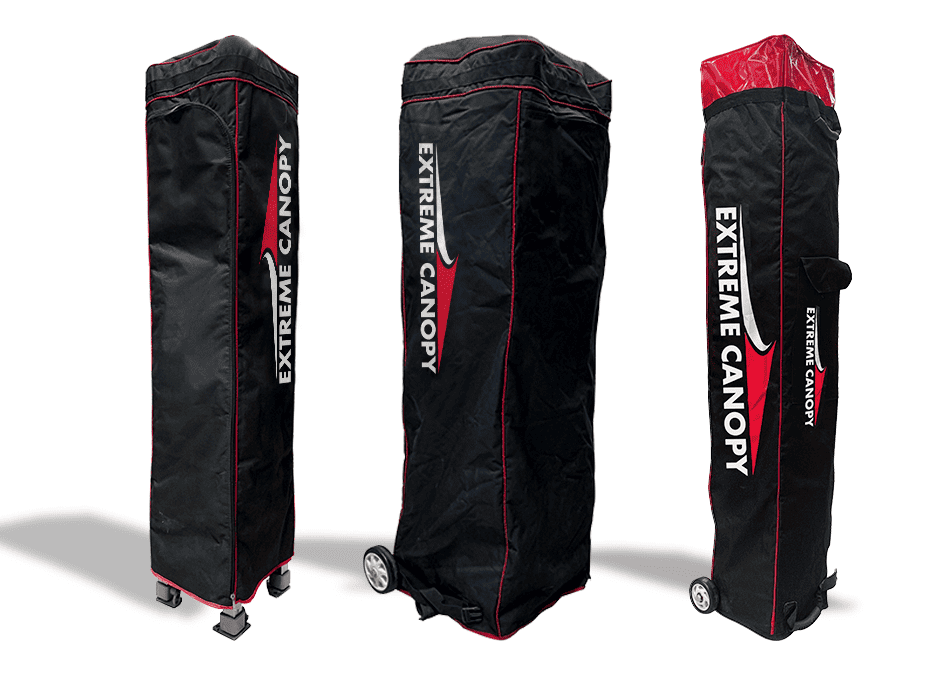
One of the biggest benefits of instant canopies is their portability. If you’ve traveled with your instant canopy, you’ve likely transported it in a carrying case. Bring this carrying case to your desired set-up location and remove your instant canopy from inside. Though canopy tents are not terribly heavy, it’s best to recruit the help of at least one other person to remove your tent safely. Take care to unzip carefully so as not to damage your fabric roof or sides — especially if you have a custom canopy with your organization’s branding on its surface.
2. Prepare Your Frame for Expansion
Instant canopies feature expandable frames that require virtually no assembly. To perform the expansion step properly, enlist the help of at least one friend or teammate to first place your instant canopy in the exact spot you want to expand it. Then, begin expanding the frame. If you’re working with only one other person, place him or her on the opposite side of the tent. Have your friend or teammate grab hold of the tent’s middle truss bar while you grab hold of the truss bar on your end. Pull slowly to expand your tent. Don’t expand your instant canopy all the way, as the next two steps work best when your canopy is only partially expanded.
3. Attached Your Roof
With your instant canopy still partially expanded, take your fabric roof, unfold it and attach it to the top of your tent. Secure the Velcro holds to the frame and be sure not to stretch your roof too far. Next, clip your roof’s elastic strips onto the lower truss bars at the mid-point of each side of your tent’s frame. This will help ensure that your roof sits evenly atop your tent. Check to make sure everything looks good (especially if you have a custom canopy with your brand or team logo on the roof) before moving on to the final step.
4. Setting Height On Your Height-Adjustable Legs
Most instant canopies feature height-adjustable legs to enable users to pick heights that work for them. Once you’ve partially expanded your instant canopy’s legs each a few feet from center, locate the height adjusters on each one and set them to your desired height. It’s best to perform this step with four people (one per leg) simultaneously so as not to topple your tent; however, you can safely complete this step on your own by increasing or decreasing height gradually. Change the height by one notch, then move to each leg and make the same change. Repeat this process until you have reached your desired height.
5. Fully Expand Your Instant Canopy, Stake It and Attach Optional Sides
With your height now set, it’s time to expand your instant canopy to its full size. Again, grab your instant canopy by its middle truss bars and walk slowly until you hear them click into place. Once your tent is fully expanded, make sure that it is standing on level ground and check to see that your roof is still attached evenly. Then, securely place tent stakes into the ground or attach tent weights onto your instant canopy’s legs to safely ground it. If you have tent sides, attach them once everything else is in place. Your instant canopy should now be ready for use.
Tearing Down and Packing Up Your Canopy Tent in 5 Simple Steps
At the end of a long event, the last thing you want to worry about is the tear-down process. Thankfully, instant canopies are as easy to tear down as they are to set up. The process is essentially set up in reverse, with a few extra considerations thrown in. Follow these 5 simple steps to take control of your tent tear down and pack up in mere minutes.
1. Un-Stake Your Tent
The first step to a successful tent tear-down is removing all the tent stakes from the ground. (If you’re using tent weights, you’ll want to unwrap them from your tent’s legs.) Removing stakes will allow you to move your tent and fold it back up. After removing your stakes, make sure to place them in a bag and keep track of the bag so as not to have to replace them later on. Misplaced stakes are a common mistake, and you don’t want to end up with too few stakes the next time you try to set up your tent.
2. Remove Your Tent’s Sides and Lower Your Tent’s Legs
Next on the tear-down list is side removal and leg-lowering. Carefully remove your instant canopy’s sides (if you have them at all) and place them in a nearby spot. Then, slowly lower your tent’s legs to a manageable height to make your roof more accessible. Lower each leg gradually, one rung at a time, so you don’t accidentally pinch your fingers or topple your tent.
3. Remove Your Tent’s Roof and Clean It (Along with Your Tent’s Sides)
Onto cleaning. Over the course of an event, your instant canopy is going to get dirty. Dust, dirt, water and waste will all likely make contact with your tent. Sometimes, you’ll just get a few scuffs. Other times, you’ll get a healthy coat of dirt that will make your tent look 20 years older than it actually is. Regardless of your tent’s final state after the tear-down process, it’s a good idea to clean it up to preserve its condition. Start with the fabric roof and sides. There, unchecked dirt and moisture can form mold over time, which can structurally damage fabric materials and lead to safety concerns for those near your tent. Try to sweep and scrub your sides and roof as much as possible before removing them, then carefully take them off, place them atop a car a freshly-swept concrete area, and give them a final sweep before packing them up. If you are using a custom tent, take care to keep your branded images sparkling-clean.
4. Wipe Down Your Tent’s Frame
Cleaning shouldn’t stop with your tent’s fabric materials. Your tent’s frame also needs a thorough scrub before being packed up. Even in water-resistant aluminum and coated steel, water and dirt can gradually lead to oxidation and erosion if left to sit in storage. Expandable truss bars will also not work as well when dirty. Wipe down all areas of your tent’s frame to keep it in tip-top shape between uses.
5. Push Your Tent’s Frame Together and Place It Into Its Carrying Bag
After cleaning, it’s time to return your instant canopy to its smallest state. Enlist the help of a few people to gradually push your tent together until it is in its most packable form. Then, lift it slightly off the ground and pack it into its carrying case, taking special care not to damage the case or tent components. If you don’t have a carrying case, we recommend wrapping your instant canopy in a tarp to keep it protected in transit.
Learn More About Canopy Usage and Order Your Custom Canopy Here!
Interested in learning more about the ins and outs of canopy tent usage? You’re in the right place. Contact our experts here at Extreme Canopy to get in-depth professional advice and have your tent-related questions answered. Ready to order your very own custom canopy? Check out our selection of instant canopies and custom canopy products available to order directly from our manufacturers. You can also explore our wide selection of tent accessories — including tent stakes, tent weights and carrying cases — each of which can aid you in the set-up and tear-down process. Follow the links above to find industry-leading instant canopy products at affordable prices, and shop with our team today!